Illustration and Visual Narrative
Aishath Lene Abdulla Amir (0333185)
Illustration and Visual Narrative
Lecture
Week 2
This week our lecture was on, introduction to character design. First, our lecturer miss Anis, told us to show her our favourite characters. Then by choosing randomly among the pictures she explained to us how the characters are represented based on their personality to the way they look. She explained this to us by making examples of the principles of character design. This covered the shapes, color, emphasis and contrast, harmony and expression/poses. She even showed us more examples after the fact, that made clear for us that we understood everything.
Week 3
This week our lecture was on visual techniques that talks about compositions. In this lecture we learned that visual hierarchy is very important. She also talked about types of shots/ compositions. She showed examples for each of the compositions by showing scenes from movies. From this, she also taught us how to observe a picture or scene by identifying the positive and negative that we can take from that. After, we had to make rough sketches for our vormator character by including foreground, background and middleground.
Week 4
On this week, our lecture was on visual techniques that is about perspective. Perspective is the way that you visualize something. Creating perspective in art, gives the image an optical illusion, from a 2D surface to 3D. It is one of the best ways to give representation to the over all elements in and image. There are a few types of perspectives that includes, 1 point, 2 point, 3 point and 4/5 point. The way that you can tell how many points there are is by the number of vanishing points. Ad long as the image mimics a 3D effect, that includes foreground, middleground and background, a sense of depth is created giving it a perspective. After the lecture, we made some rough sketches showing perspective..
Exercise
Project 1 - Vormator Challenge
Week 2
We had to create our own characters for the Vormator challenge. These are the elements we need to use in order to create our character.

Figure 1.0 - Idea sketch - 09/04/2021
Exploration
I made a sketch of the idea that I had in mind for week 2, for miss Anis to give me some feedback. I had a few more ideas in mind but i went with the one i thought made the best character.

Figure 1.1 - Idea sketch - 09/04/2021
Week 3
This week after our lecture on compositions, we had to make a few idea sketches for our vormator character based on the type of scenery/ shot in a way that we can identify the foreground, background and middleground.
Exploration

Figure 1.2 - Compositions - 18/04/2021

Figure 1.3 - Compositions - 18/04/2021
Illustration
I had to bring a few changes while illustrating my vormator character. I was going for an alien theme look. Moreover, I used adobe color wheel while choosing a color palette. First I look the shapes and arranged them in a way that would look similar to my sketch and the one I made after Ms. Anis's feedback.

Figure 1.4 - Arrangement of Shapes - 18/04/2021
Next I attempted to color in My character using different shades but complementary colors.

Figure 1.5 - Adobe color wheel - 18/04/2021

Figure 1.6 - Color attempt - 18/04/2021

Figure 1.7 - Color attempt - 18/04/2021
After Ms. Anis's feedback, she gave me some ideas for improvement, and I attempted one of the characters here.

Figure 1.8 - 2nd Character Idea - 18/04/2021
I think really liked the idea for the first character design so i brought some more alien like changes to it, that would make it look more like a monster, rather than just a "cute" alien.

Figure 1.9 - 3rd Character Idea - 19/04/2021
I even attempted a landscape background for my character based on one of the compositions that I sketched out.

Figure 1.10 - Vormator Background Attempt - 20/04/2021
On this week, we learned how perspective is created. So during the lecture, we were told to make 3 different sketches that includes out vormator character, attempting different perspectives.

Figure 1.11 - Perspective - 22/04/2021

Figure 1.12 - Perspective - 22/04/2021

Figure 1.13 - Perspective - 22/04/2021
Week 5
I made some minor changes to my character to make it look more clean. I went with this one because the eyes makes it look more alien like and that was what I was going for. And I changed the color of the glass to a darker color and changed the opacity, I think it makes it look more 3D like. This character is called Humbee Octalien.

Figure 1.14 - Humbee Octalien - 30/04/2021
For the landscape, I wasn't too happy with how it turned out the first time, as i felt it was lacking something. I listened to Ms. Anis's advice and added the rocky kind of 3D like texture to the foreground and midground. I think it definitely gave the landscape more depth that it did not have before. First when I made the foreground , I went with the original colors that I used before, but then i tried purple to see if it looked good. I liked the purple though it matched my character too much ad if it would almost look camouflaged. So I changed it to green color, Which I think made the landscape pop.

Figure 1.15 - Landscape - 30/04/2021

Figure 1.16 - Landscape - 30/04/2021
Lastly, I made the card for my character. I got the template online and i used the fairy pokemon card template. I went with the pokemon card as I felt that this gives more personality to my character. You can easily read the attacks and its ability. I read online about the fonts that are used, and how all the parts are laid out on the card and I followed that to make my character.

Figure 1.17 - Game Play Card - 30/04/2021
After reading through the submission details, I realized that, the card needs to be longer, thought I like first template better, I had to meet the submission requirements.

Figure 1.18 - Game Play Card - 30/04/2021
Final Submissions - Task 1

Figure 1.19 - Exercise 1 - 01/05/2021

Figure 1.20 - Exercise 2a - 01/05/2021

Figure 1.21 - Exercise 2b - 01/05/2021
Practical
Week 2
This week out practical was on chiaroscuro. Chiaroscuro is the use of light and dark to create 3D volume on a flat surface. Our lecturer first gave is examples of this and then explained why chiaroscuro is used. It was a very short and brief explanation then we moved on to the exercise part where he showed us first, the basics of illustrator. Then he told us to use the pen tool to create an illustration of a pear. He gave us an example picture and also explained where the chiaroscuro was used. For the exercise we had to make a trace around the pear to create an illustration using the pen tool.

Figure 2.0 - Pear Image - 09/04/2021

Figure 2.1 - Pen tool Trace - 09/04/2021

Figure 2.2 - Colour in - 09/04/2021

Figure 2.3 - Remove Stroke - 09/04/2021

Figure 2.4 - Final Pear - 09/04/2021
Next, we had to change the color of the pear, cut and swap the colors from one part of the pear

Figure 2.5 - Pear - 13/04/2021
Week 3
This week on practical, we learned about clipping mask. In this session we covered from the basics of clipping mask, creating silhouettes, swatches to making patterns
- For figure 2.6 we also covered how to use gradient and transparent.

Figure - 2.6 - Basics of clipping mask - 16/04/2021
- In figure 2.7, you can see that we used the same pear from week two's chiaroscuro.

Figure 2.7 - Creating silhouettes - 16/04/2021
- In figure 2.8, we took pictures from the internet to make color watches. With this you can create your most desirable color palette.

Figure 2.8 - Swatches - 16/04/2021
- In figure 2.9 fist i used textiles in lightroom to create pattern, with the use of scale. Next I made my own pattern and dragged it to the swatches so i can fill it in any shape

Figure 2.9 - Pattern - 16/04/2021

Figure 2.10 - Week 3 Full Exercise - 16/04/2021
Week 4 practical demonstration was on composition application. This included making shapes using the pen tool, adding gradient at textures to the object and creating compositions by duplicating, rotating and or flipping the object, making sure that you are arranging the objects in a way that looks visually attractive. Basically, this week we learned how to make a composition out of the things we individually learned last week.


Week 5
For week 5 practical we had to submit a self portrait chiaroscuro. Just like how we did in week 1 to the pear, we had to take the same idea and apply that to our own picture.
I used this picture as the sample for my exercise.

Figure 2.12 - chiaroscuro - 23/04/2021

Figure 2.13 - process - 23/04/2021

Figure 2.14 - process - 23/04/2021

Figure 2.15 - process - 23/04/2021

Figure 2.16 - process - 23/04/2021

Figure 2.17 - process - 23/04/2021
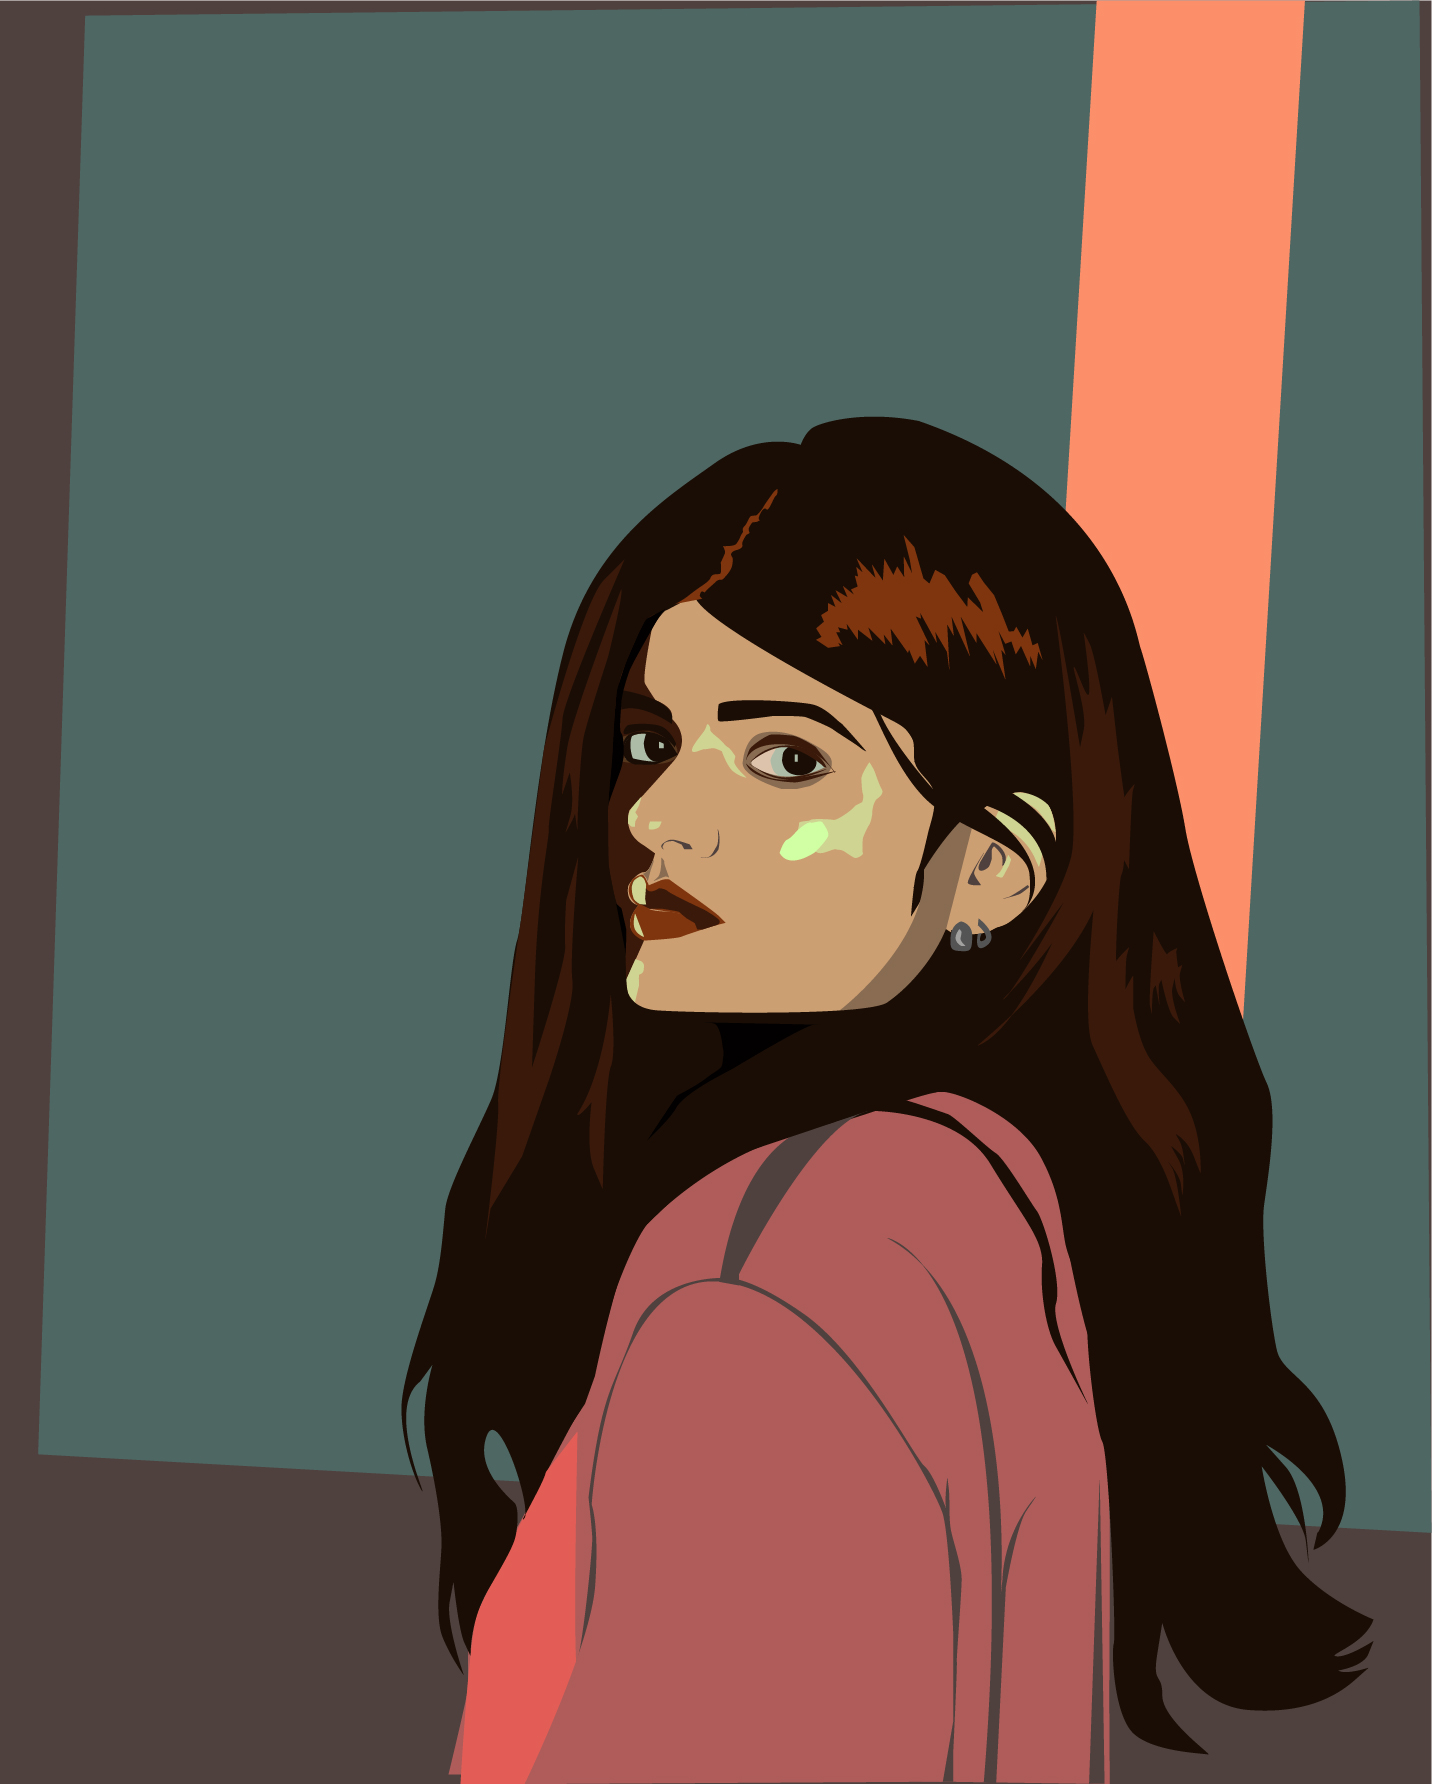
Figure 2.18 - chiaroscuro - 23/04/2021
Feedback
Week 2
I showed Ms. Anis the sketch I came up with for the Vormator challenge and she gave me some feedback saying that, if i want to i can try out different legs for my character. Moreover I got ideas from her to improve, giving my ideas a balance.
Week 3
No specific feedback, though generally she advised us to observe more while watching a movie or cartoon, so we can identify what kind of composition we are looking at.
Week 4
I showed Ms. Anis some of my progress. She said that the background matches my character and that I should add some rocky texture to it.
Week 5
Reflection
Week 2
I think that the feedback I got from miss Anis was really helpful, as a way of taking regular average looking things to look really good. I feel that I need to do a bit more research by watching more animated movies in order to improve. The practical was really helpful as well because I was exposed to illustrator more. I got the hang of it easily and was able to do my work faster.
Week 3
I learned that can practice more by observisong compositions from any kind of visual scenes that would help me in creating my own ideas as well.
Week 4
I learned this week that there are more ways in which an image can me interpreted. The different perspectives gives the image more significance.
Week 5
I wasn't as stressed this week , because I had finished most of the work before hand. I'm really glad we got an extension though, because it gave me more time to reflect on the work that I had done before and I had time to make improvements for the final submission.


Comments
Post a Comment